

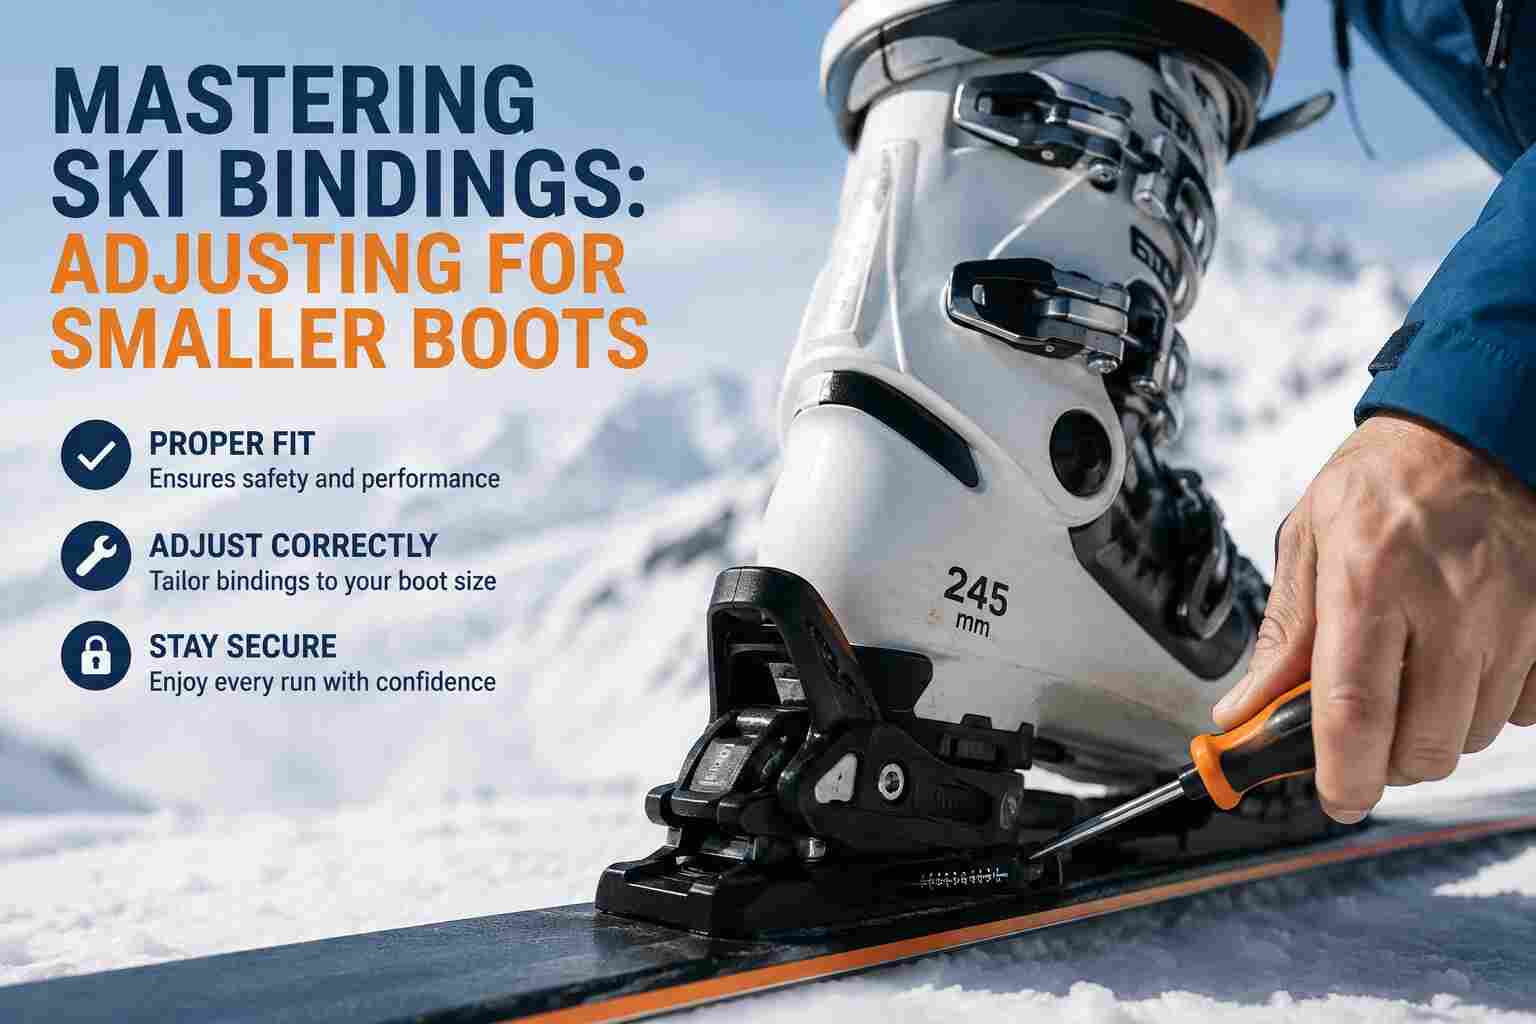
Adjusting ski bindings might seem like a daunting task, especially if you’re new to the slopes or have just upgraded to smaller boots. But fear not! With a bit of guidance and the right tools, you can ensure your bindings are perfectly suited to your new setup, giving you a safer and more enjoyable skiing experience.
Don’t let the technicalities overwhelm you. In this guide, we’ll break down the process step-by-step, so you can confidently adjust your ski bindings to fit your smaller boots. Whether you’re an experienced skier or a beginner, this essential skill will empower you to make necessary adjustments on the go.
“Properly adjusted ski bindings not only enhance performance but also significantly reduce the risk of injury. Take the time to get it right!”
So, grab your toolkit, and let’s dive into the world of ski binding adjustments. You’ll be hitting the slopes in no time, with bindings that fit like a glove.
Understanding Ski Bindings: What You Need to Know
Ski bindings are the crucial link between your ski boots and your skis, playing a vital role in controlling your movement and ensuring your safety on the slopes. These devices not only keep your boots securely attached to the skis but also release them when necessary, such as during a fall to prevent injury.
Each pair of bindings has a DIN (Deutsches Institut für Normung) setting, which determines the force needed for the binding to release the boot. This setting must be adjusted based on factors like your weight, height, skiing ability, and boot size. The right DIN setting ensures that your bindings release when they should, avoiding unwanted accidents.
Bindings also consist of several parts that work together to hold your boots in place: the toe piece, heel piece, and brakes. The toe and heel pieces can be adjusted to fit the length of your boots, while the brakes are designed to stop your skis from sliding away if your boots are released. Understanding how these components function and how to properly adjust them is essential for a safe and enjoyable skiing experience.
It is important to note that while basic adjustments can be done at home with a screwdriver, complex settings or significant changes should ideally be handled by a professional ski technician. Incorrectly adjusted bindings can lead to serious injuries, so it’s always better to err on the side of caution when making these adjustments.
Can ski bindings be adjusted for different boot sizes?
Absolutely! Ski bindings can indeed be adjusted to fit different boot sizes, ensuring that a variety of users can safely and effectively use the same pair of skis. The process involves several steps and requires a bit of attention to detail, but with some basic tools and know-how, you can make these adjustments yourself.
The key is understanding that ski bindings have adjustable components in both the toe piece and the heel piece. To begin with, you need to determine the length of your ski boots, which is typically measured in millimeters and usually found imprinted on the heel or sole of the boot.
Once you have this essential measurement, adjust the toe and heel pieces of the binding to match the boot length. This is often done using a standard screwdriver. Make sure that the boots can click in comfortably without being overly loose or tight, as this ensures both safety and optimal performance on the slopes.
While it is possible to make these adjustments on your own, it’s always wise to consult a professional ski tech if you’re unsure or need to make significant adjustments. Their expertise can help you avoid common mistakes and ensure your bindings are set correctly.
Common Mistakes to Avoid When Adjusting Small Ski boot Bindings
Adjusting ski bindings may seem straightforward, but several common mistakes can lead to discomfort or even injury. Here are some pitfalls you should avoid:
1. Ignoring the Manufacturer’s Instructions: Each binding model has specific instructions and settings. Failing to follow them can result in improper adjustments. Always read and adhere to the guidelines provided by the manufacturer.
2. Incorrect Forward Pressure Setting: Forward pressure is crucial for safe skiing. If the setting is too high, the boot might not release during a fall, potentially causing injury. Conversely, if it’s too low, your boot might come off unexpectedly. Be sure to adjust the forward pressure following the manufacturer’s recommendations.
3. Not Using the Correct Boot Sole Length: Ski bindings need to be adjusted according to the exact boot sole length in millimeters. Using an approximate value can lead to improper fitting and compromise safety. Always check your boot sole length and adjust accordingly.
4. Overlooking Regular Checks: Your bindings should be checked regularly, especially if you’ve had a fall or have been skiing for an extended period. Consistent monitoring ensures that the adjustments remain accurate and that the bindings are functioning properly.
5. Failing to Test the Adjustments: After making adjustments, do a few test clicks and step-ins with your boots. Ensure that they click into place securely without feeling too tight or too loose. This hands-on test can quickly reveal if further adjustments are needed.
6. Not Consulting a Professional: While many adjustments can be done at home, significant changes or fine-tuning should be handled by a professional ski technician. They have the tools and expertise to ensure your bindings are perfectly adjusted for both performance and safety.
step-by-step guide for adjusting ski bindings to fit smaller boots
First, you’ll want to make sure you have the necessary tools on hand: a Phillips screwdriver, measuring tape, and your smaller ski boots. It’s helpful to work in a well-lit area where you can clearly see all the components of your ski bindings.
- Determine the Boot Sole Length:
Flip your ski boot over and locate the boot sole length (BSL), which is usually printed in millimeters on the side or bottom of the boot. This number is crucial for adjusting the bindings to fit the new size. - Adjust the Heel Piece:
Using the screwdriver, loosen the screws on the heel piece of the binding. Slide the heel piece to match the boot sole length of your smaller ski boot. Once aligned, tighten the screws securely. - Adjust the Toe Piece:
Loosen the screws on the toe piece of the binding. Slide the toe piece backward or forward to accommodate the new boot sole length. Just like with the heel piece, tighten the screws once the toe piece is in the correct position. - Check the Forward Pressure:
Step into the bindings with your boots. There should be a small indicator at the heel piece that shows if the forward pressure is correct. If it’s not within the recommended range, readjust the heel piece accordingly. - Verify the DIN Settings:
The DIN setting on your bindings must be set according to your weight, skiing ability, and the length of your ski boots. Use the DIN chart provided by the manufacturer or consult a professional to ensure accurate settings. Adjust the DIN setting using a screwdriver. - Test the Fit:
Once everything is adjusted, step into the bindings again. Check to ensure that the boots click in easily and release appropriately with a moderate amount of force. It’s crucial for safety purposes to make sure the bindings release under pressure to avoid injury.
Remember, if you are unsure about any step in the process, it’s always best to consult a ski technician to make sure your bindings are properly adjusted. Happy skiing!
How do I know if my ski bindings are correctly adjusted for smaller boots?
Knowing if your ski bindings are correctly adjusted for smaller boots is crucial for both performance and safety. Here are some key indicators to look for:
- Snug Fit: When you step into the bindings, your boots should click in comfortably without being overly loose or excessively tight. A proper fit ensures effective power transfer and control.
- Visual Inspection: Check that the bindings are adjusted to the boot sole length noted in millimeters (usually found on the side or bottom of the ski boot). Align the heel and toe pieces of the bindings to match this measurement.
- DIN Settings: Ensure that the DIN release settings on your bindings are appropriate for your weight, height, skiing ability, and the boot size. This setting determines the force required for the boot to release from the ski, which is vital for injury prevention in a fall.
It’s always a good idea to perform a few test clicks in a safe, controlled environment. Click into the bindings several times and make sure they securely hold the boots in place each time. If you find any inconsistencies, readjust accordingly or consult a ski tech professional.
Bottom line: A correctly adjusted binding should feel secure and provide stability without sacrificing comfort. Happy skiing!
Is it better to have tighter or looser For small ski boots?
Finding the perfect balance between tight and loose ski bindings for smaller boots is imperative for both safety and performance on the slopes. Too tight, and you risk discomfort and reduced circulation, which can lead to cold feet and decreased control. Too loose, and your skis might release unexpectedly, posing a significant safety hazard.
When adjusting bindings for smaller ski boots, aim to achieve a snug fit that allows some movement but still feels secure. The ski boot should click in comfortably without being overly loose or tight. A well-adjusted binding should enable you to move your feet slightly, ensuring that the boot is held firmly in place but not constraining your natural foot movements.
It’s also important to consider the DIN setting, which dictates the force required for the boot to release from the binding during a fall. For smaller skiers, typically lighter in weight, the DIN setting should be adjusted accordingly to ensure it’s not too high, which would make it difficult to release, or too low, which would cause premature release.
Always test your adjustments before hitting the slopes by stepping into your bindings and practicing a few movements. If you can’t get the ski boot to clip in, try lifting the heel lever – this small trick can often make a big difference!
Safety Tips for Adjusting Ski Bindings for smaller boots
When making adjustments to your ski bindings for smaller boots, safety should always be your top priority. Here are some essential tips to ensure your bindings are set correctly and securely:
- Check the DIN Setting: The DIN setting on your bindings is critical. It dictates how much force is needed for your boots to release from your skis. Adjusting this setting to match your weight, skill level, and skiing style is crucial for reducing the risk of injury.
- Inspect the Bindings: Before any adjustment, thoroughly inspect your bindings for any signs of wear and tear. Damaged bindings can compromise your safety on the slopes and may need professional attention.
- Use Proper Tools: Ensure you have the correct tools, such as a screwdriver, to make precise adjustments. Using the wrong tools can result in improper adjustments and potential binding damage.
- Consult the Manual: Always refer to the manufacturer’s manual for your particular bindings model. Each set of bindings is unique, and the manual will provide specific instructions tailored to your equipment.
- Test the Fit: Once adjustments are made, place your boot into the binding and ensure it clicks in securely without excessive force. The boot should fit snugly, but it should also release when needed, without being overly tight.
- Perform a Release Test: After adjusting your bindings, conduct a release test to ensure the boots will release as expected under pressure. This step is vital for confirming that the DIN settings are appropriate and the bindings are functioning correctly.
- Get a Second Opinion: If you’re ever in doubt, it’s always wise to consult with a ski technician or professional. They can verify your adjustments and provide peace of mind before you hit the slopes.
Remember, properly adjusted bindings are crucial for a safe and enjoyable skiing experience. Take your time with the adjustment process, follow these tips, and don’t hesitate to seek professional help if necessary.
Conclusion
Adjusting your ski bindings for smaller boots is essential for both safety and performance on the slopes. By understanding the intricacies of ski bindings and following the proper steps, you can ensure a comfortable and secure fit. Always double-check your adjustments and, when in doubt, consult with a professional to avoid any potential risks. Happy skiing!
Remember, properly adjusted bindings can make all the difference in your skiing experience. Take the time to get it right, and you’ll thank yourself when you’re gliding down the mountains with confidence and ease.
Have you adjusted your ski bindings for smaller boots before? We’d love to hear about your experience. Share your tips and tricks in the comments below, and let’s keep the conversation going!